Category: Sympathy

Forever Fern Bundle Sympathy Card

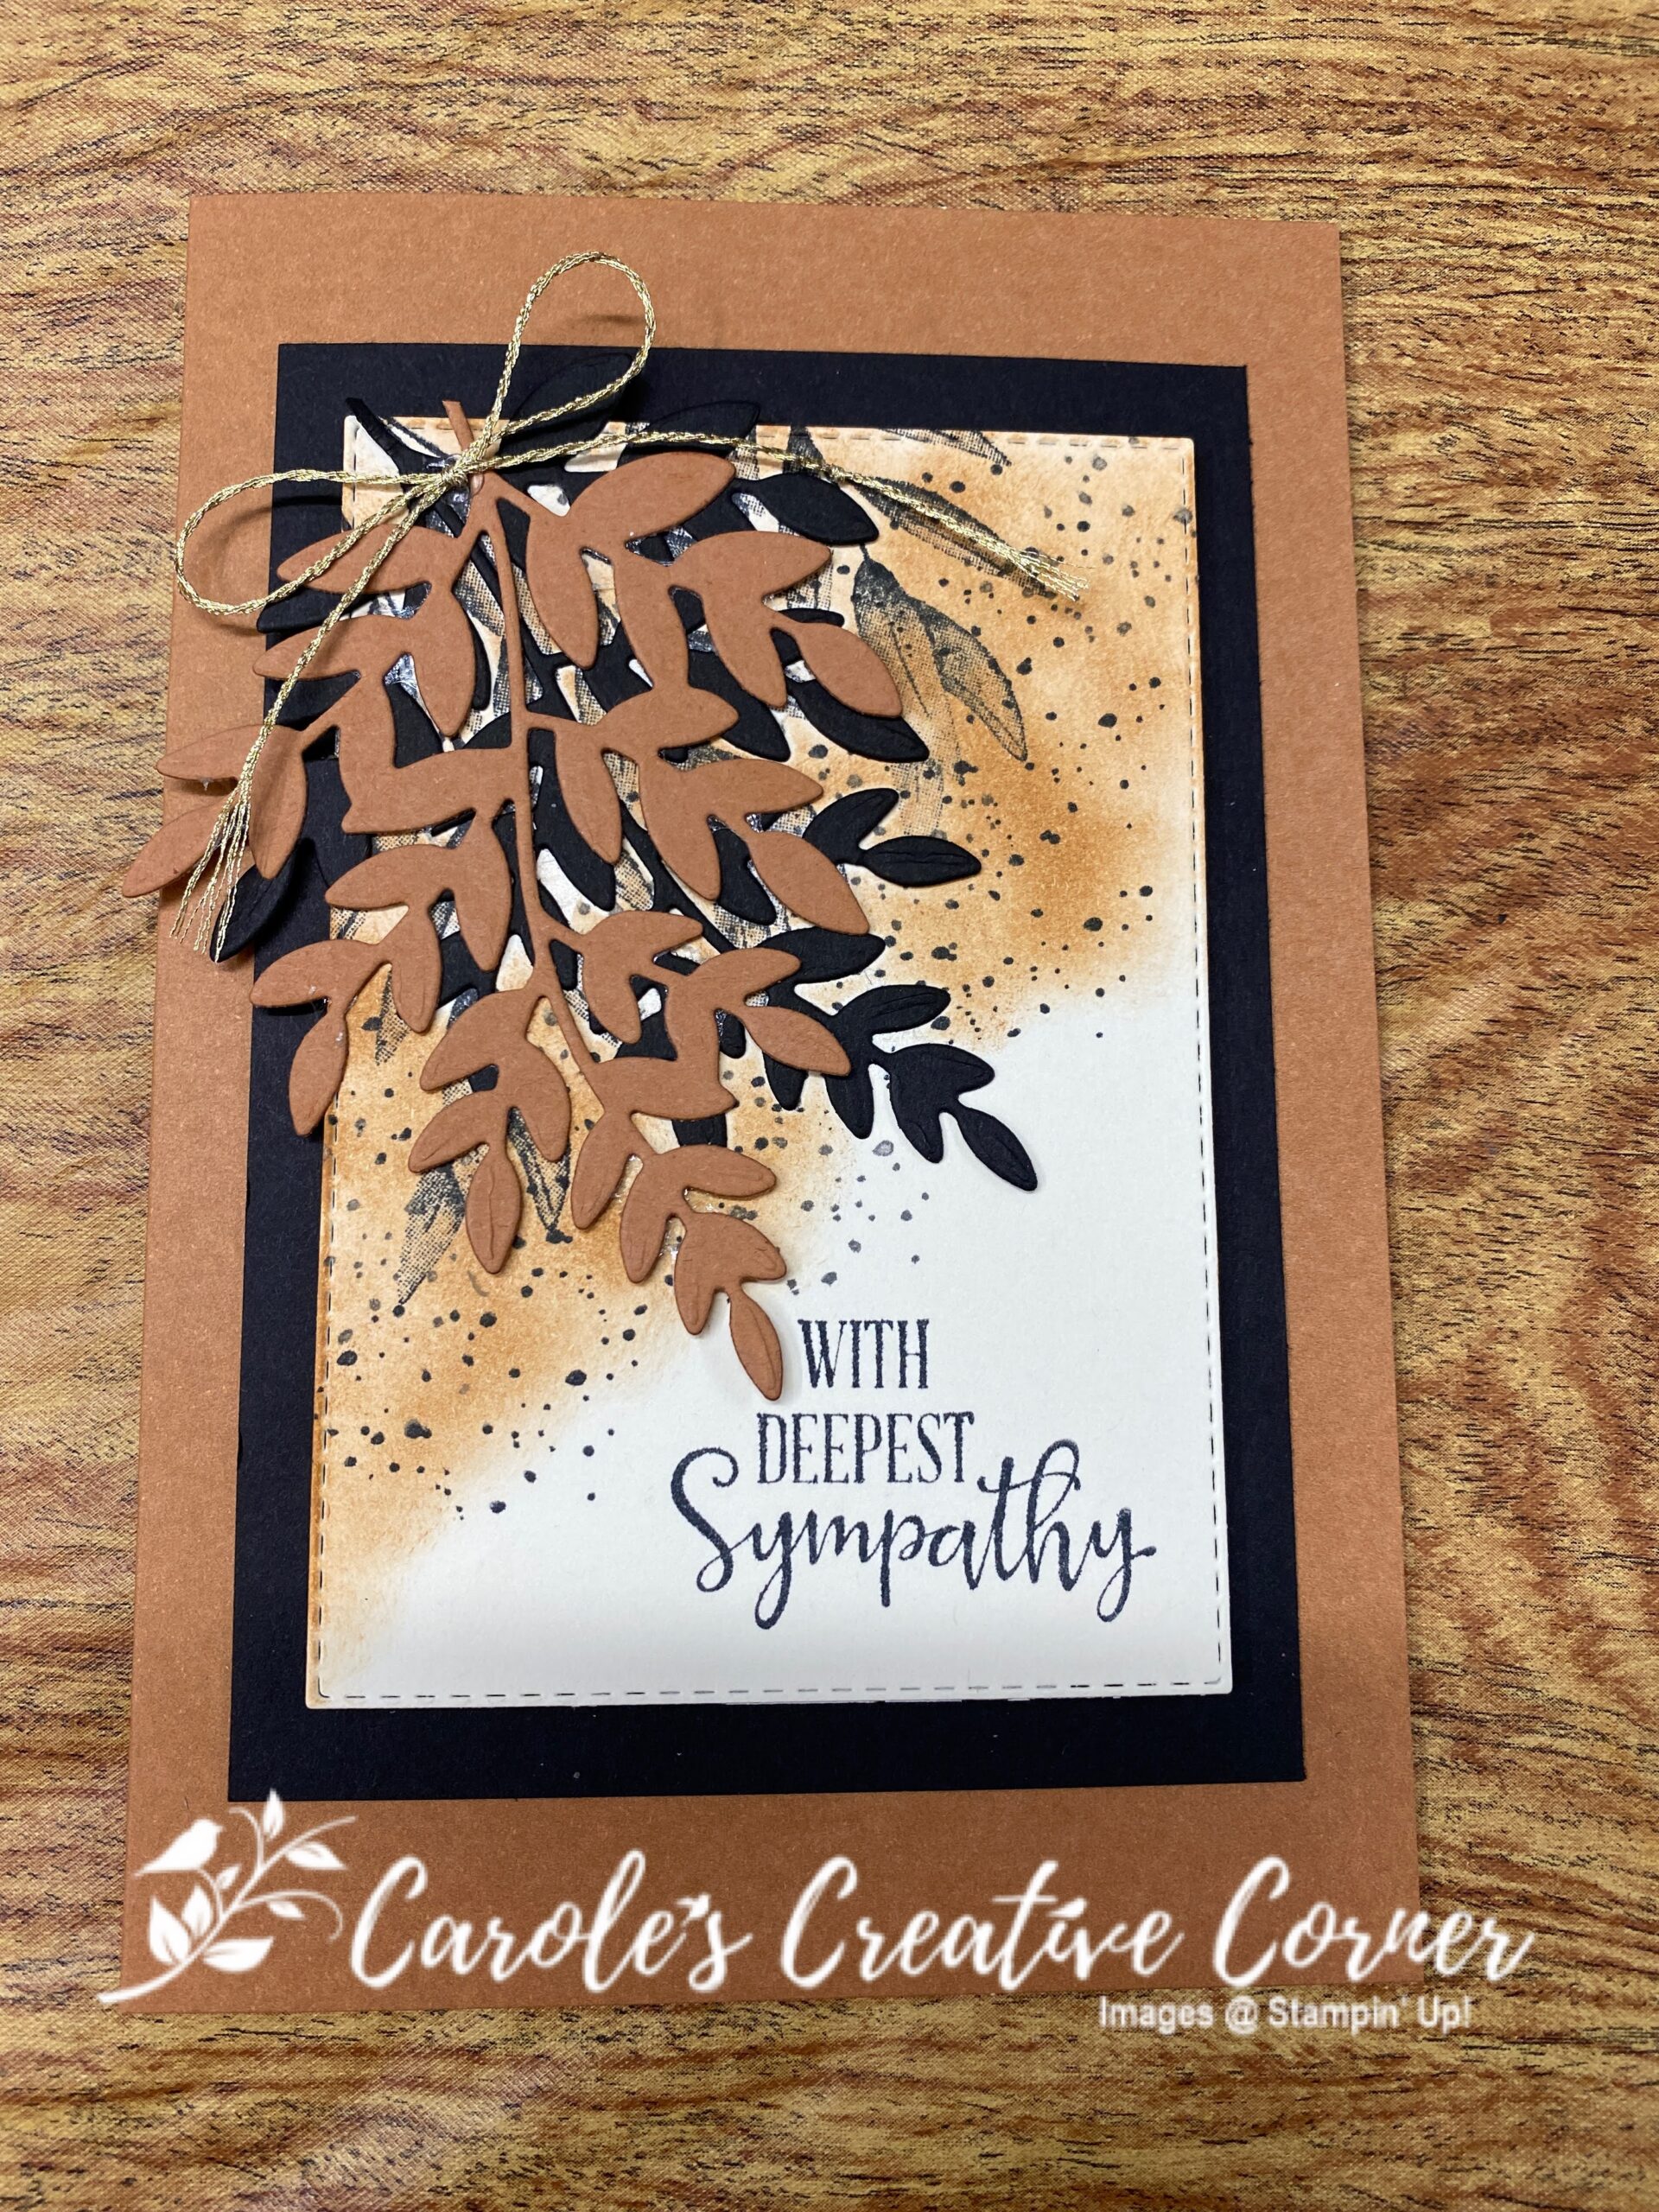
Another card made with the Cinnamon Cider and Black combination of colors! This card uses the Forever Fern stamp set and Forever Flourishing Dies to make a sympathy card. This card is easy and stunning for any occasion!

Forever Fern
Forever Fern Ink Blending Technique
Click Here to Watch the Video Tutorial

Measurements:

Very Vanilla Cardstock: (1) 4.5″ x 5.5″
Basic Black Cardstock: (1) 3.5″ x 5″ ; piece for branch
Cinnamon Cider Cardstock: piece for branch

Directions:

  1. Die cut a branch from Cinnamon Cider cardstock and a branch from Basic Black cardstock.
  2. Stamp 3 branches onto the Very Vanilla cardstock as shown in Figure 1 with black memento ink. Add black speckles around the leaves.
Forever Fern
Figure 1
  1. Use a sponge dauber, inked in Cinnamon Cider ink, to create a blended effect on the upper left hand side of the card around the leaves, see Figure 2. (Note: Using a blending brush (shown) also works very well to create this effect.)
Ink Blending Technique using Forever Fern
Figure 2
  1. Die cut a stitched rectangle (the 3rd largest in the set), positioned so that the leaves are in the upper left hand corner from the Very Vanilla cardstock.
Ink blending technique using Forever Fern
Figure 3
  1. Stamp the sentiment in lower right hand corner.
Ink Blending technique using Forever Fern
Figure 4
  1. Adhere the 2 die cut branches to upper left hand corner. Tie a bow with the Gold 1/16″ trim and adhere with glue dot on top of branches.
Ink blending technique using Forever Fern Bundle by Stampin Up

Supplies for the Cinnamon Cider Forever Fern Bundle

Bonus Days are here! For every $50 in Stampin’ Up products you purchase (before shipping and tax), you earn a $5 bonus coupon to use on products in August! Shop here to earn your coupon!

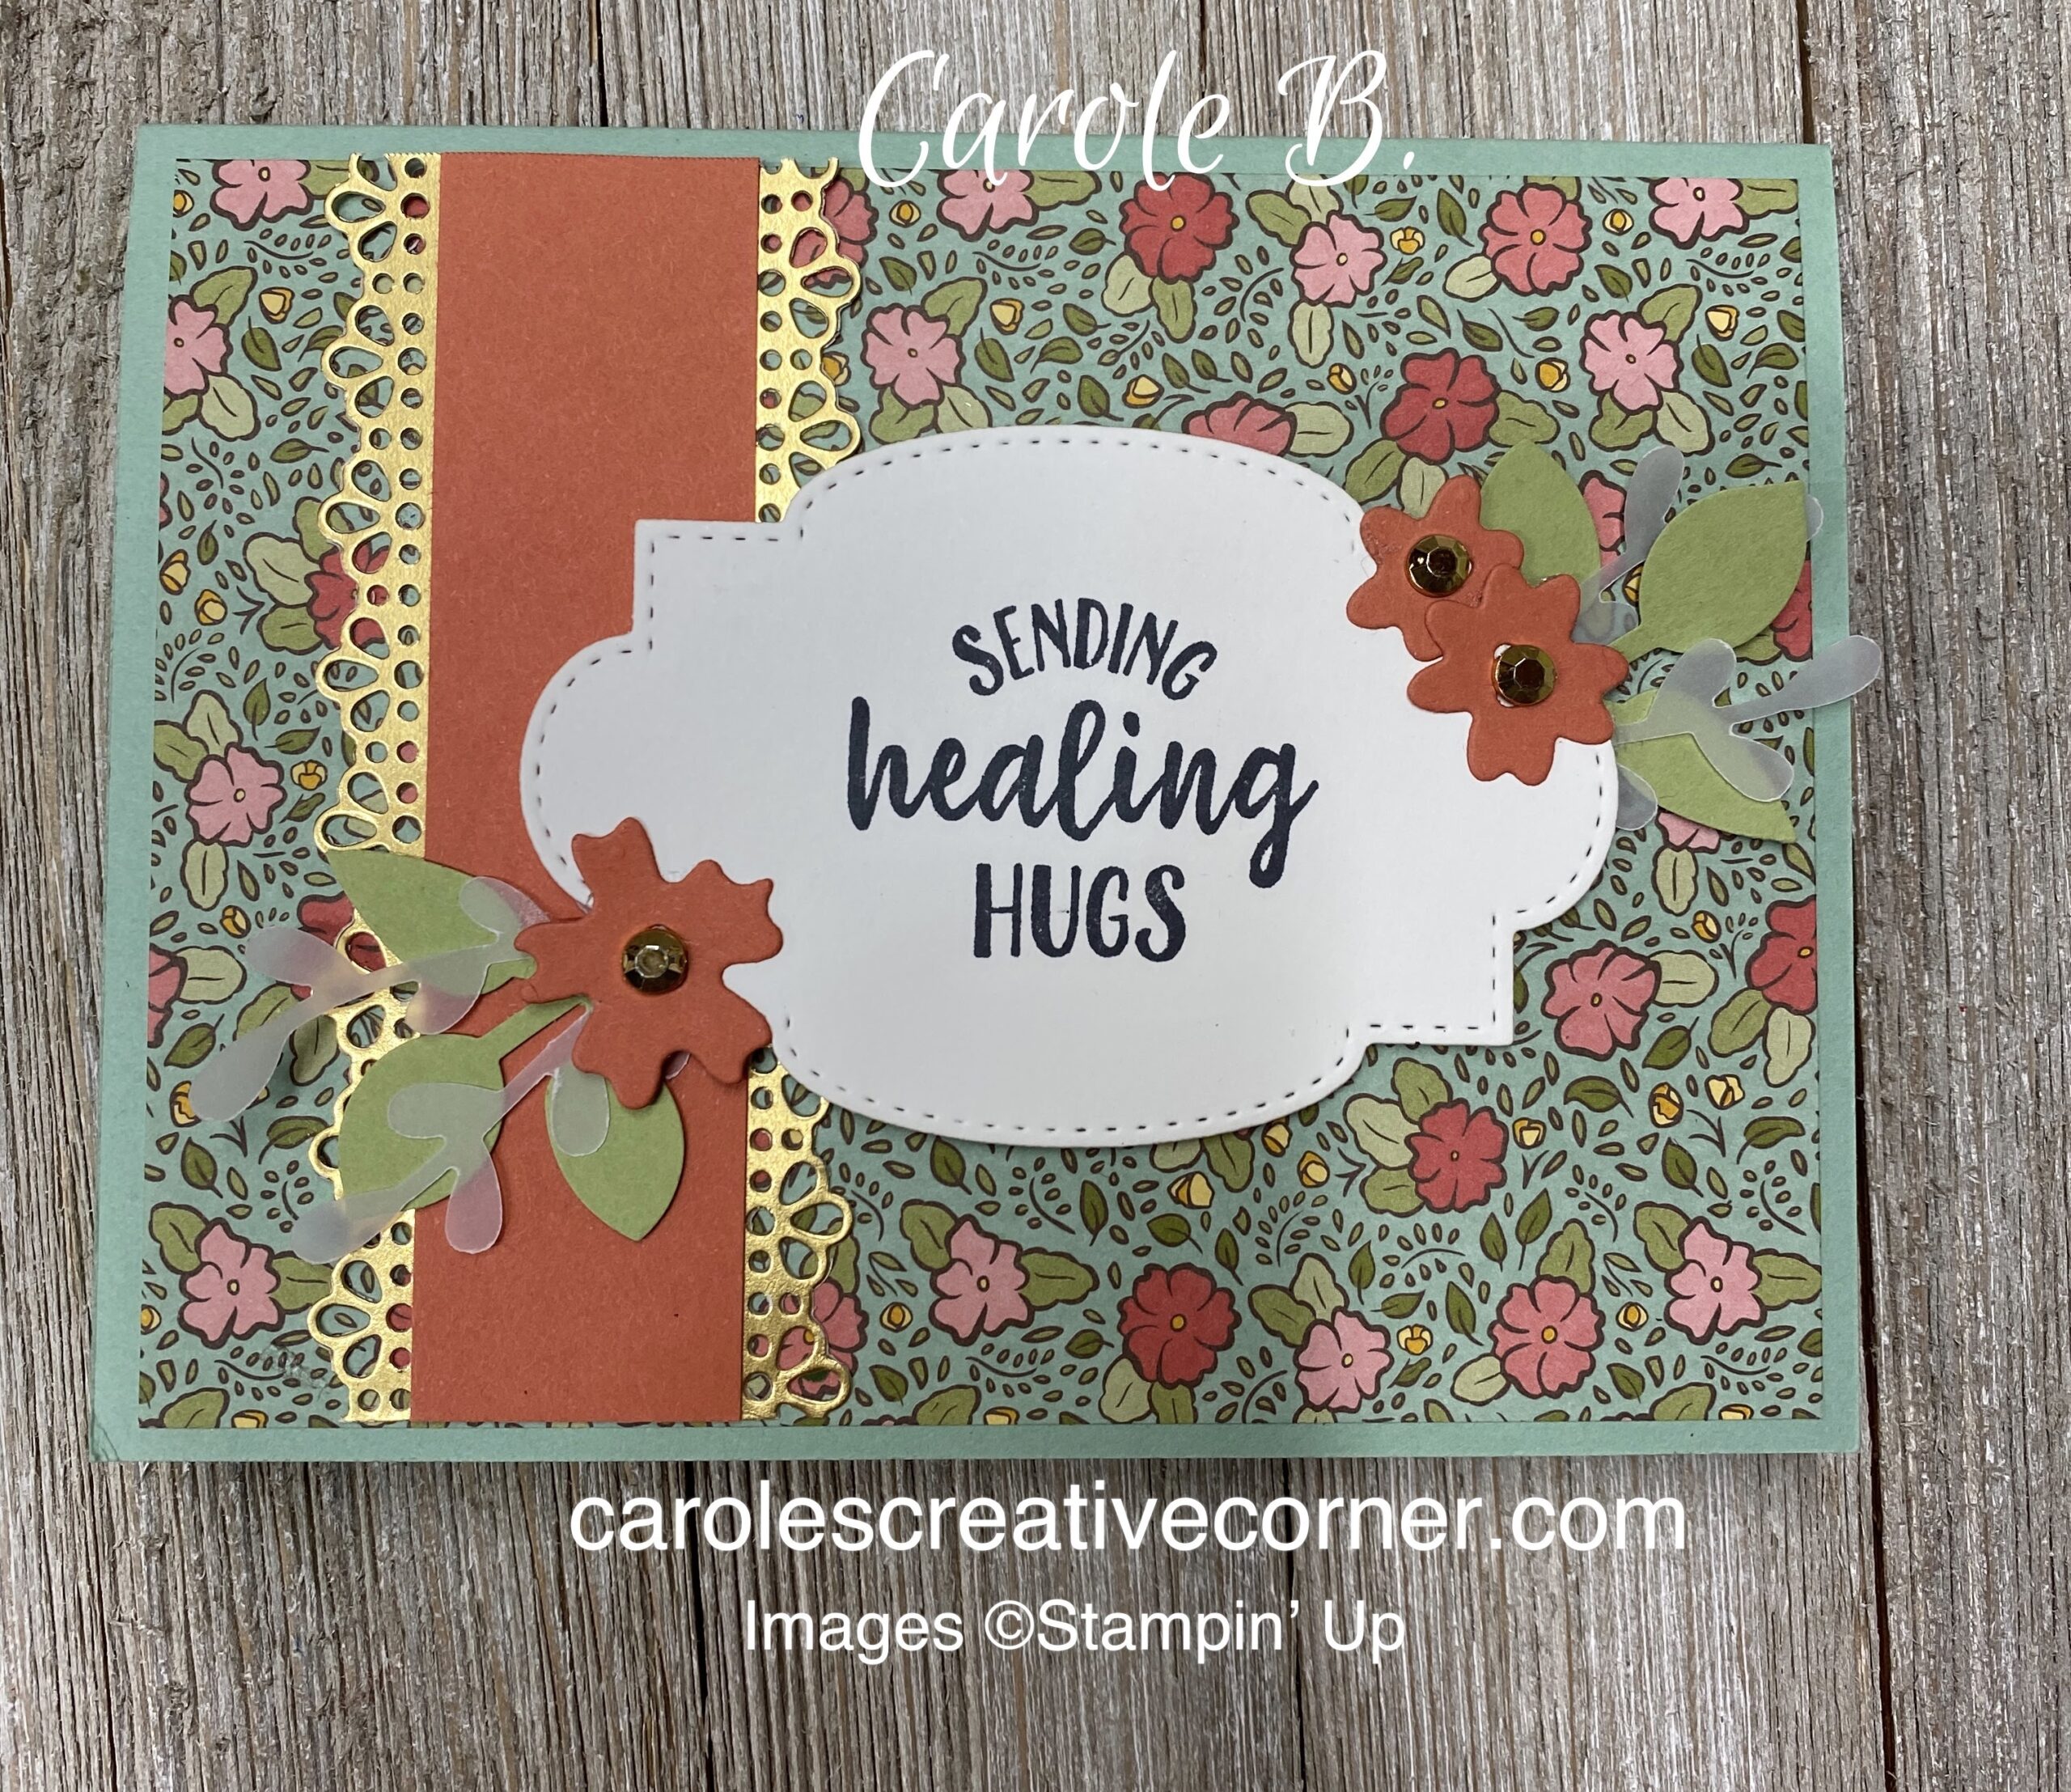
Ornate Borders: Healing Hugs Card

Loving the color combination of the Mint Macaron card stock with the Terracotta Tile card stock–doesn’t the Ornate Garden designer series paper just pull this card together? The Ornate Border dies were used on this card to provide the gold borders on this card.

Measurements

Mint Macaron:  5.5” x 8.5”, scored at 4.25” on 8.5” side for card base
Ornate Garden Specialty DSP: (1) 5.25” x 4”; (1) ½” x 4”
Terracotta Tile:  1” x 4”; scraps for flowers
Whisper White:  3.75” x 2.5” for sentiment
Gold Foil:  4.5” x 1.25”

Directions

  • Adhere Ornate Garden Designer Series Paper (DSP) to front of card base
Fig. 1: Adhere gold borders to back of Terracotta Tile strip
  • Die cut 2 borders from the Gold Foil and trim to 4″. Adhere 2 gold borders to the back of Terracotta Tile strip on each side, so that the straight line of dots are showing on the front side.  (See Fig. 1) Adhere to front of card.
  • Die cut the sentiment piece from Stitched So Sweetly Dies. Stamp sentiment on white label.  Apply dimensionals to back and adhere to front of card.
  • Die cut flowers and add flowers to the top of white label.  Tuck and adhere leaves and sprigs under label. 
  • Add gold gilded gems to flower centers.
  • Adhere 4”x5.25” white to inside of card.  Adhere 0.5” x 4” strip of DSP to inside.  Stamp sentiment inside (as applicable).

Supplies

Positive Thoughts: Blending Technique Sympathy Card

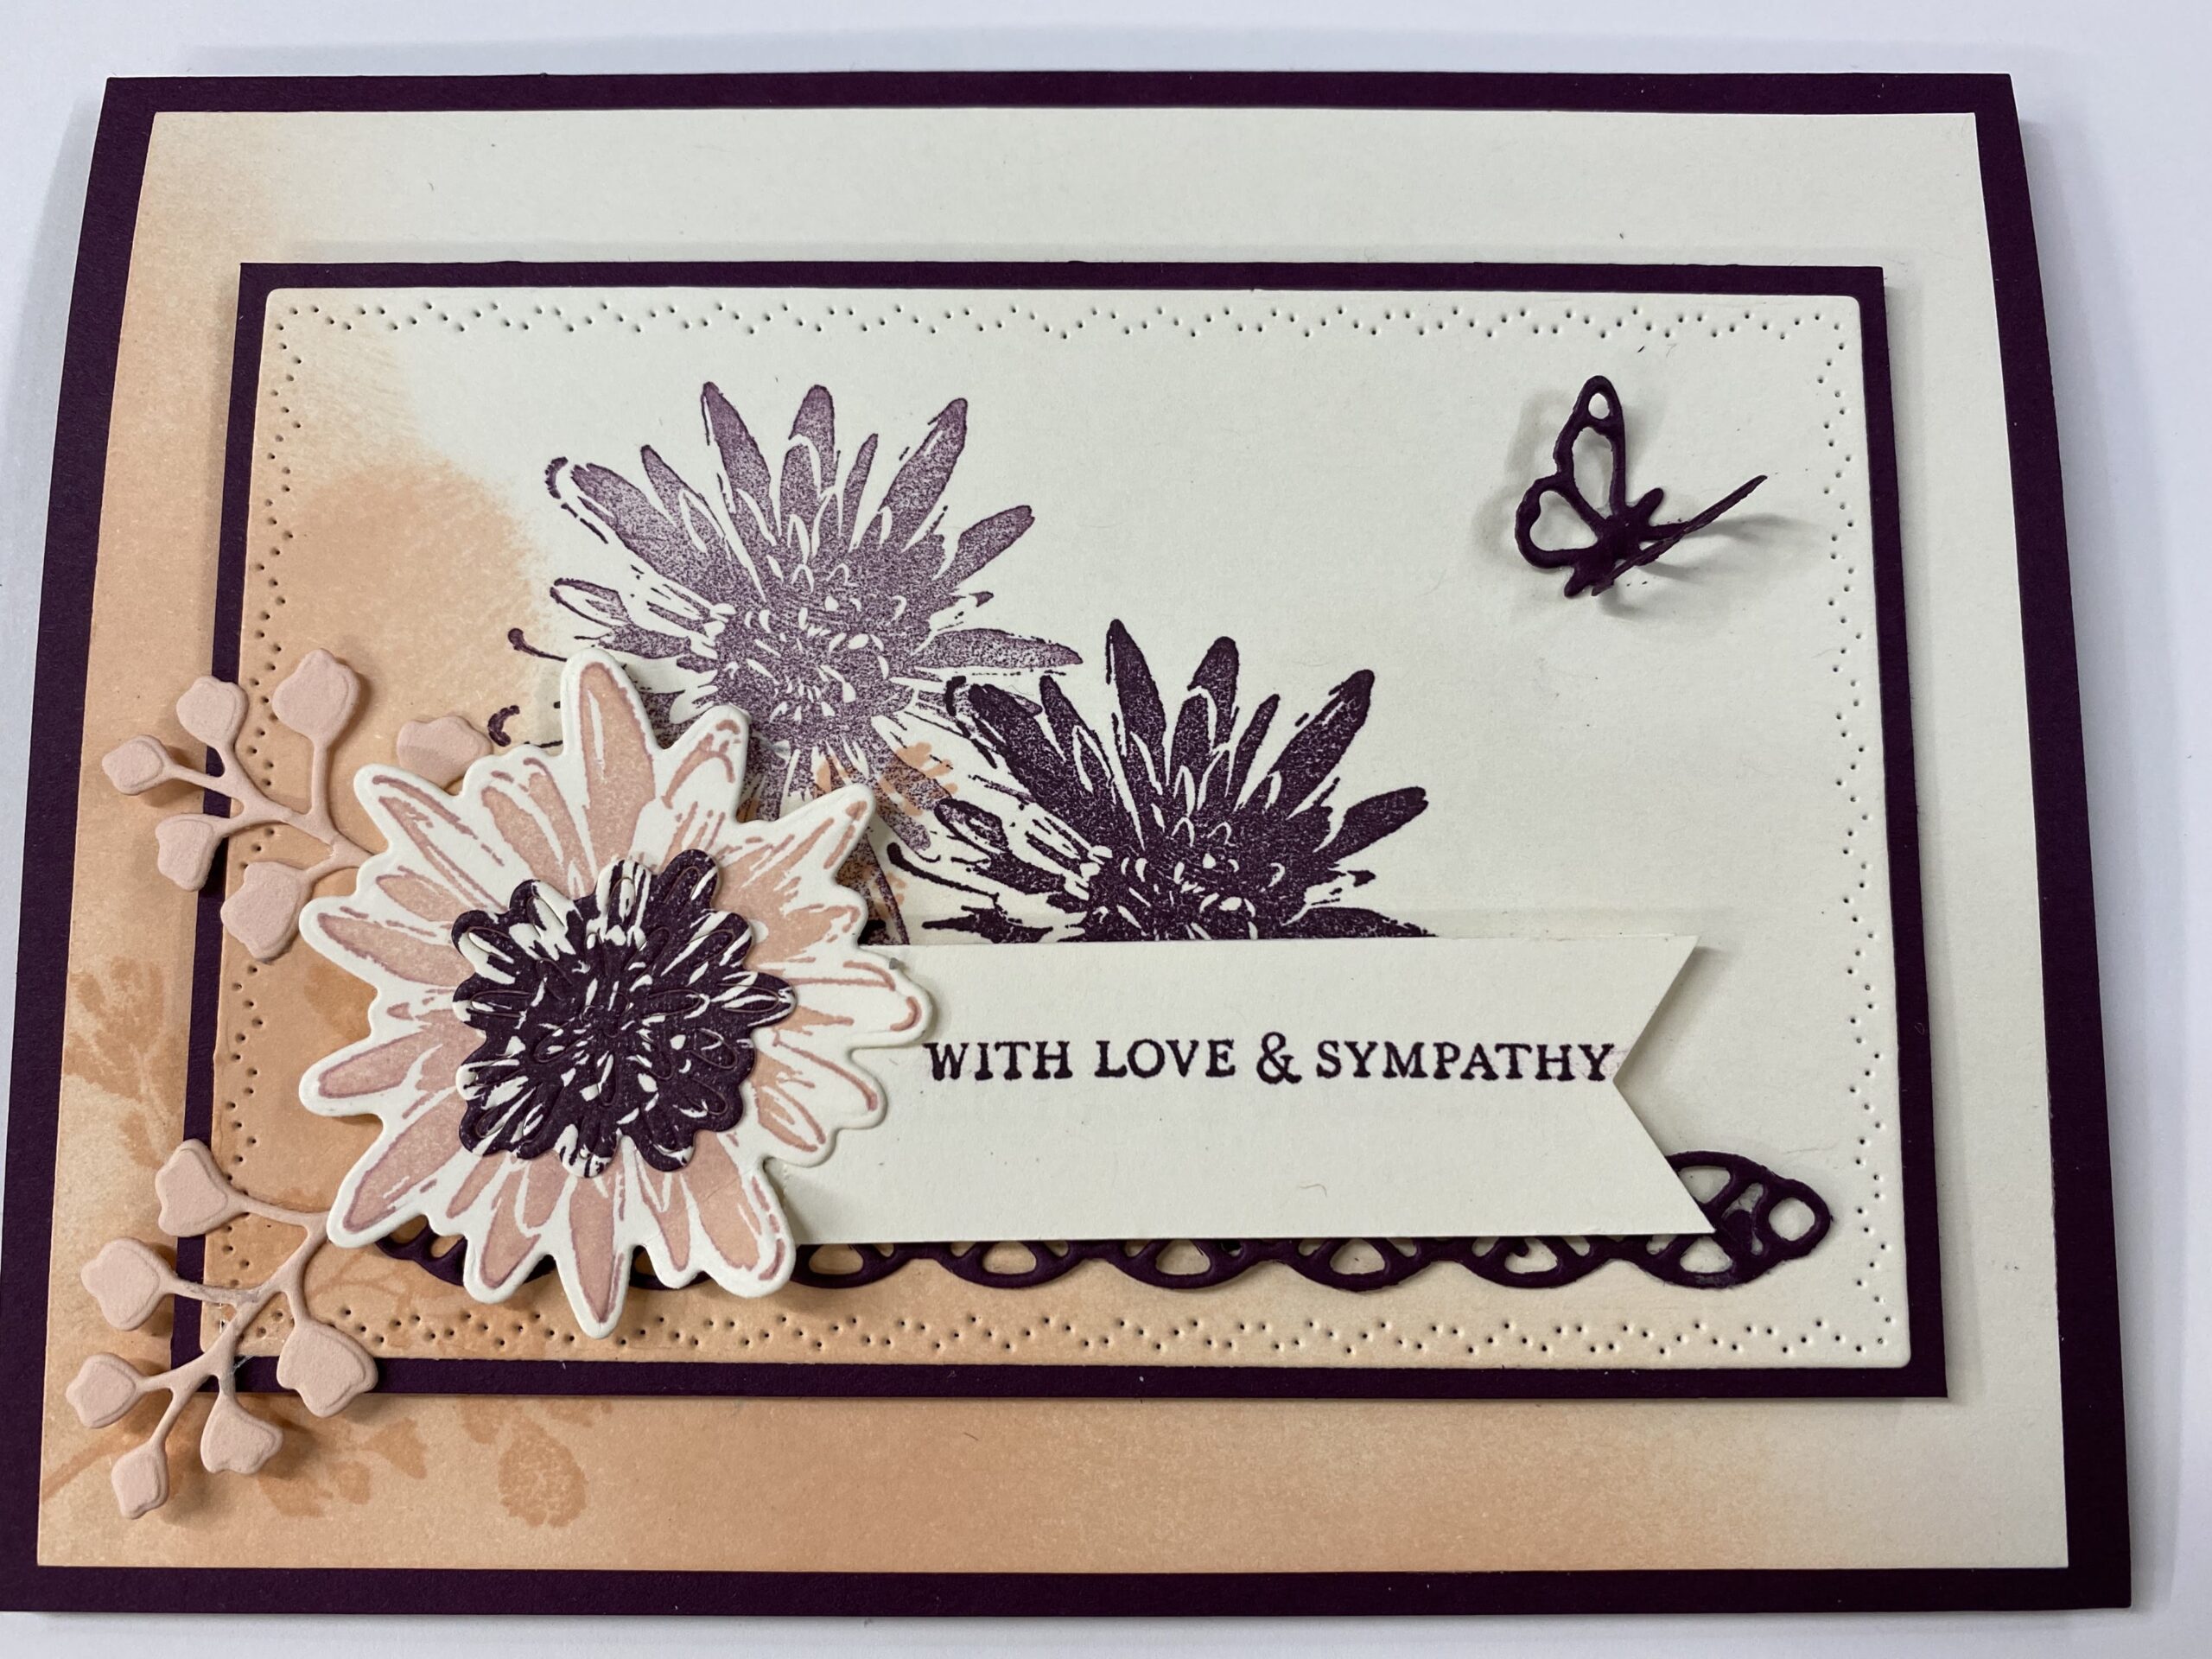
This card uses a blending technique, which adds depth to this beautiful card, using Stampin’ Up’s Positive Thoughts stamp set and Nature’s Thoughts dies. See how easy this card is to make with just paper, ink and dies!

Take a piece of very vanilla card stock and stamp the leaf in the corner. Next, dip a makeup/foundation brush into the blushing bride ink pad and then swirl it on the paper, starting from the corner out to the edges and center. This gives it a nice ombre effect. Continue this process until you have the color and amount of coverage you want. When you see the finished result, it appears as if the image and ink color was embedded in the paper! Once the background is done, stamp the blackberry bliss flowers. Note: the second flower was not re-inked, giving it different shade.

Making the background

Using the rectangle die from the Nature’s Thought die set, center over the vanilla cardstock and die cut.

Die cut rectangle from center

Mount the vanilla frame on a blackberry bliss card base. Then mount the rectangular vanilla piece on a piece of blackberry bliss card stock and adhere to center of card with dimensionals. Now it’s time to decorate!

Put the blackberry lace along the bottom of the inner vanilla piece. Add a blackberry bliss center to the blushing bride die cut flower and adhere it to the card with dimensionals. Then tuck the blushing bride leaves under the flower, and lastly, adhere the die cut butterfly.

Make your sentiment and then punch the right edge with the Banner Triple Punch. Place it on the card just above the lace accent and slightly tucked under the flower!

Voila! Love these two colors together! Positive Thoughts stamp set is a great all-occasion card; any sentiment will work here!

Measurements for Positive Thoughts card:

Vanilla Card Stock: 4 x 5.25″; scraps for flower; 3/4″ x 2.5″ for sentiment
Blackberry Bliss Card Stock: (1) 8.5″ x 5.5″, scored at 4.25″ on the 8.5″ side; (1) 4.5″ x 3″ , scraps for butterfly
Blushing Bride Card Stock: scraps for leaves

Supplies: